Well, I woke up this morning and didn't have much to to. I decided that today would be as good a day as any to clean up the 'ole Subaru. So you know what? I did just that.
I took a bunch of pictures during the process, so this won't really be a "how-to" more like "How I did it." Bear in mind though that I do this professionally as a side job, so if you have any questions, don't hesitate to ask.
First off is the dirty car. Not in horrible shape, but just not clean.
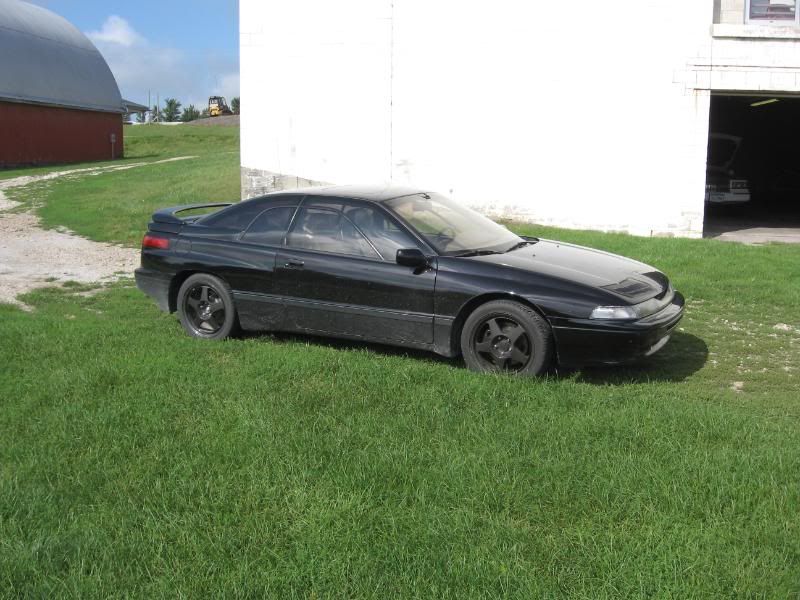
That picture is right outside of the shop we rent, and the rest are all around here as well. So, let's go inside and see what happens.
First, I'll show you a few of the things I use. Also, I didn't remember to get everything, so if you want to know... ask!
http://i43.photobucket.com/albums/e3...wah/cyclo1.jpg
Ahh.. the Cyclo. This is the best buffer you will ever use. Period. What's that, you ask? Does it have two dual action heads? Why yes it does. Easy on, easy off, and you can use it on ANY color even in direct sunlight if you like. I've used this on dozens of cars and have never once left a swirl mark. Woot! Doesn't matter if you're using a wax, rubbing compound... anything! Just make sure you match the appropriate pads to whatever step it is you're on.
http://i43.photobucket.com/albums/e3...eenmachine.jpg
This little fella' is the Bissell Green Machine. It works awesome. Makes a lazy man like myself look like a carpet cleaning pro. We opted to spend the extra $20 or so on the heated version, and we are glad we did since our shop only has cold water. Anyway, it's a great little bugger. Affordable carpet shampooing is here at last.
http://i43.photobucket.com/albums/e3.../britemax1.jpg
Here is the polish I'll be using today. Actually, this was step one of three, we'll say. Normally this is step 4 of 6, but the paint on the Suby is pretty good, so we won't bust it down too hard today. Steps 4 and 5 are what I normally use on a car that has good paint like this. I just really love the Blackmax though. It makes black and other dark colors SING! We've tried lots of different brands, Meguiars, Turtle Wax, Eagle One, Mothers, CarBrite etc... They all are very good products, but I prefer Brite Max just because I think it is the best there is. Put it with a good buffer like ours, and it will make tired old paint look FABULOUS!
Ok, so here we are in the shop. Start off with a good car-wash with a bucket and a sponge. The car wash doesn't really matter, all it has to do is clean the debris on the car now. Don't bother getting a "2 in 1" wash and wax or any of that crap. Anything cheap works. You want wax, buy wax. You want carwash, buy carwash.
Soapytime...
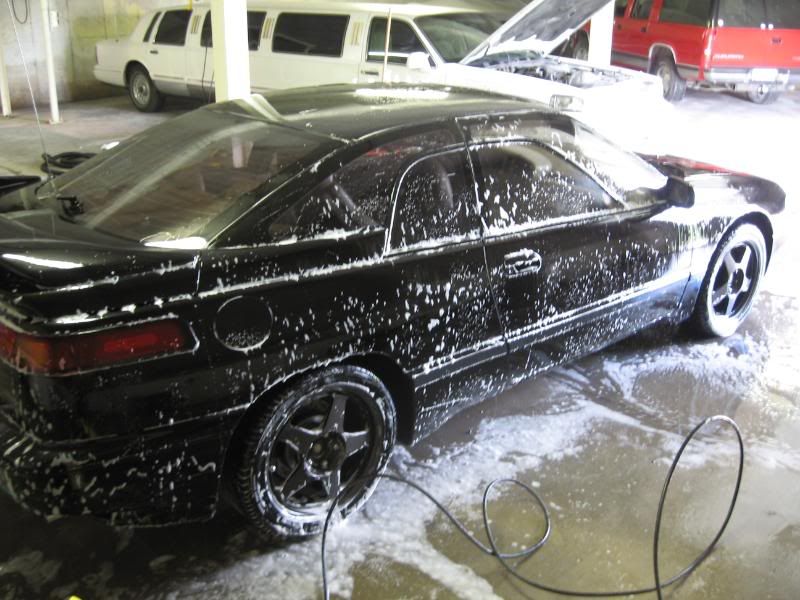
Now that you've soaped it up and rinsed it off, use a water blade to start the drying. A shammy is great, but it is 1970's technology. This is the 21st century. Use a water blade, you'll thank me later. In the photo I am dragging it to the right on the roof of the car. Doesn't take much pressure, it's just a squeegee for paint, and it works excellent. Saves a LOT of time too. Then when you're all done, just grab a towel and touch up the drips and areas you coudln't get to.
http://i43.photobucket.com/albums/e3...waterblade.jpg
When you're all done drying it off, it will look something like this.
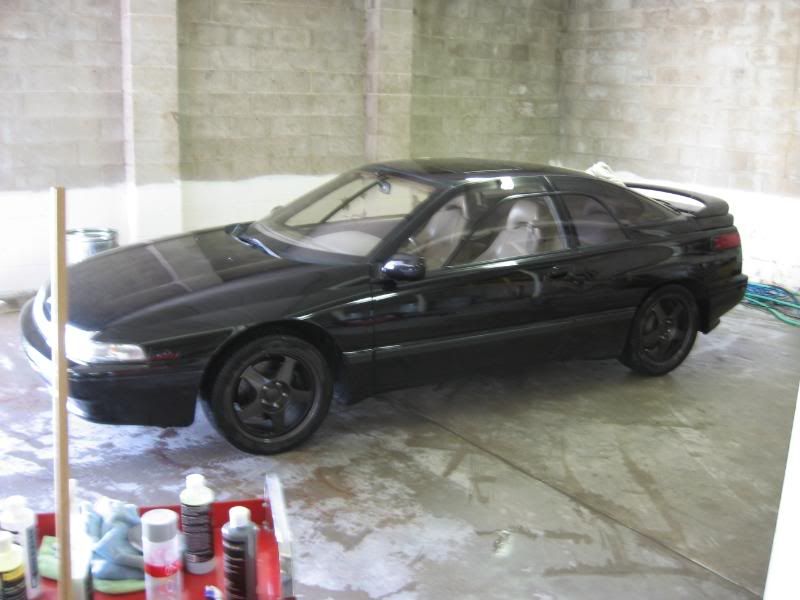
Ok, so now on to the buffing/polishing goodness. If you have any specific questions about this, just let me know, but it was hard to take pictures of myself using the Cyclo, so you'll just have to believe that I did. lol
After I'm done with step1, it looks like this. Peace.
Kind blurry, but you get the idea. This is Britemax Blackmax. Need I say more?
After step 2, let's take another one. How many fingers am I holding up?
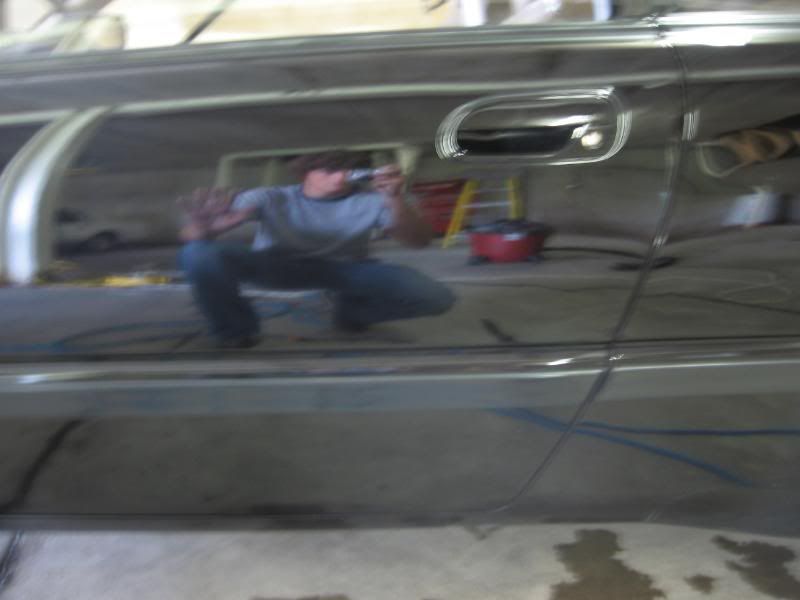
Not a HUGE difference in pictures, but in person it is WELL worth it.
So, you think we're done on the outside? HA! Think again! We need to do the doorjams, trunkgaps, and underhood gaps, wheels, and tires, yo! Also I buffed the headlights with Britemax steps 1-5, but as there is already a tutorial on here about headlamp cleaning, we'll forego that.
I didn't take any pictures of cleaning the wheels, but it's easy to do. Actually, first I spray the tire stuff on (Meguiars Hot Shine) and THEN clean the wheels. The hotshine always oversprays, so save yourself the hassle of cleaning the wheel and then the tire and then the wheel again. Clean the tire first, then the rim. For cleaning the wheels, I use Britemax Final Shine. It's an instant detailer that works AWESOME. Goes on and off easy, and offers better protection than even some paste waxes.
http://i43.photobucket.com/albums/e3...finalshine.jpg
I also use this in doorjams, trunkjams, and all the other nooks and crannies. ALso when I'm done with EVERYTHING, I go back over the whole car one time with this, (step 3 we'll call it) and then again with a dry microfibre cloth to clean any residue.
So, the interior... well I didn't take many pictures there either. Got the 'old wet-dry vac and swept it out, swept the floormats, green machined the mats, used some Invisible Glass glass cleaner on all the windows. Then I grabbed the Lexol leather care stuff and cleaned the seats. Lexol makes an EXCELLENT leather cleaner. So good it is, that Audi recommends it for use in their cars. Good enough for me! They make a cleaner and a conditioner. I used both today.
Ok, so we're getting pretty much done. I left out some little things I'm sure, but by now the car is getting pretty clean. I didn't do anthing in the trunk today cause I had some stuff stored in there, but I don't think it really needed it anyway.
Anyway, enough of my babbling. Here are some pictures of the finished product!
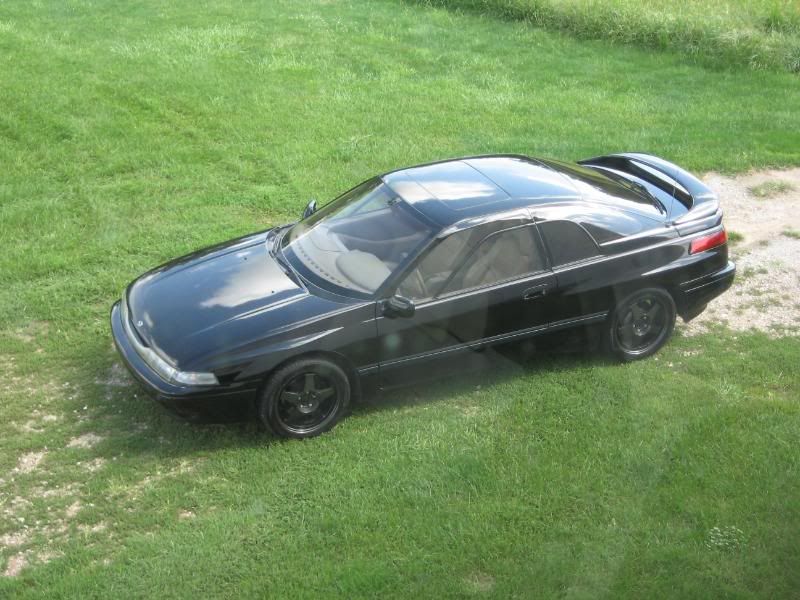
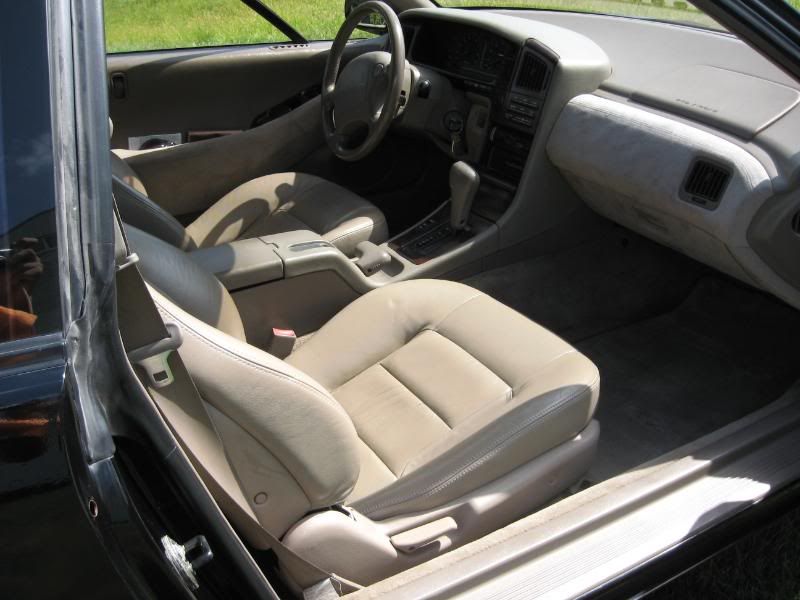
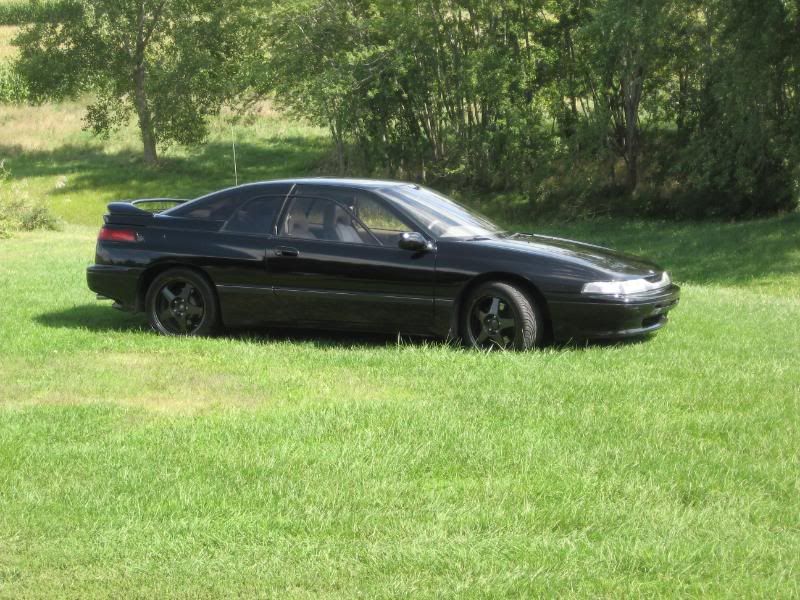
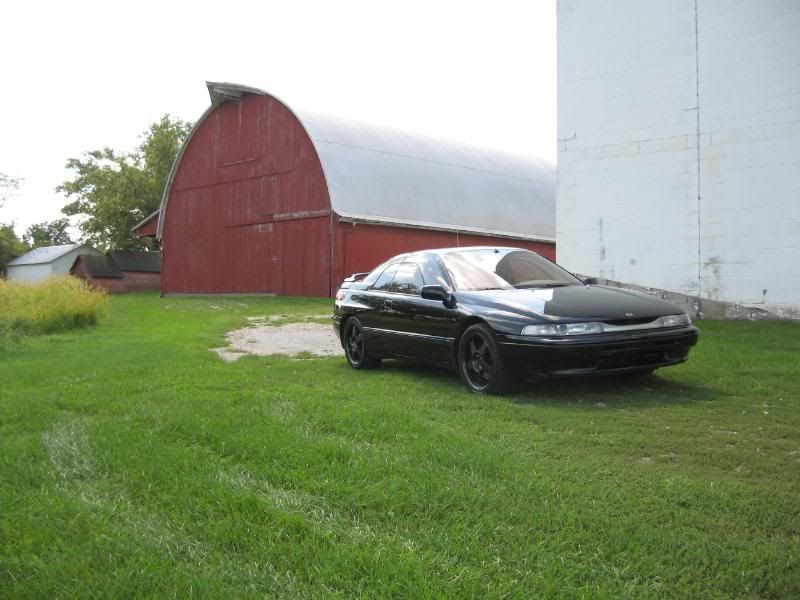
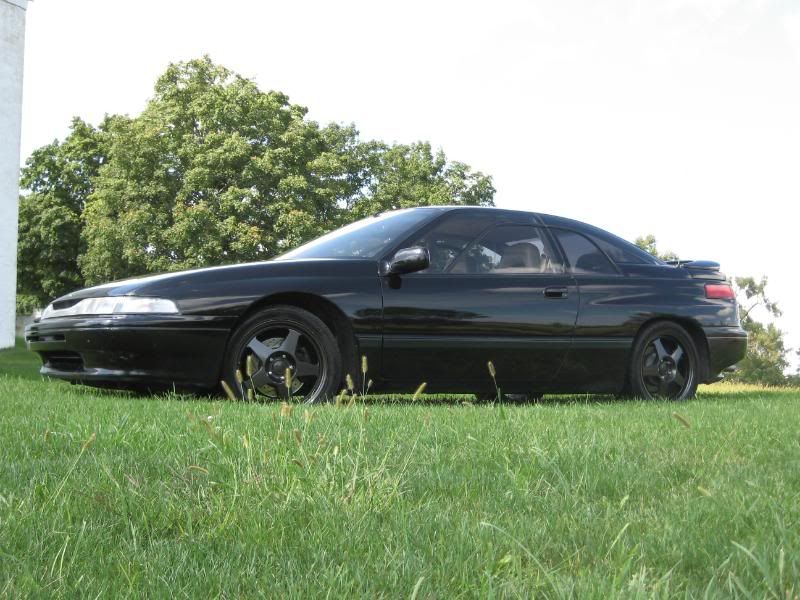
Ok, so there are enough for now.
Anyway, let me know what you think or if you have any questions. Sorry I took so long, but I'm an enthusiast. What can I say! lol