This is a quick How To writeup for your headlights and for the waterfall grill.
First: If you need to open the head light for any reason (i.e. remove broken glass from broken bulb)
1 - Remove headlight assembly from car
2 - Remove clips holding the front and back of the headlight together
3 - Pre-Heat your oven to 220 degrees F.
4 - Place headlight assembly on a cookie sheet and place in oven for 20 minutes
5 - Remove CAREFULLY. It will be hot.
6 - Gently pull the front and back of the headlight apart. This will take a good amount of force, just be slow and gentle so you don't break anything. That glue doesn't like to give.
7 - Do your cleaning. IMPORTANT: Use ONLY a microfiber cloth and cleaner WITHOUT Amonia on the reflectors. Mild hand soap and water works the best and is generally safe. (that's the same thing we use to clean professional lighting instruments)
8 - Place the two halves back in the oven for 20 minutes
9 - Remove CAREFULLY. Using oven mitts or something take both halves and press them back together fully
10 - Re-Install the clips holding the light together.
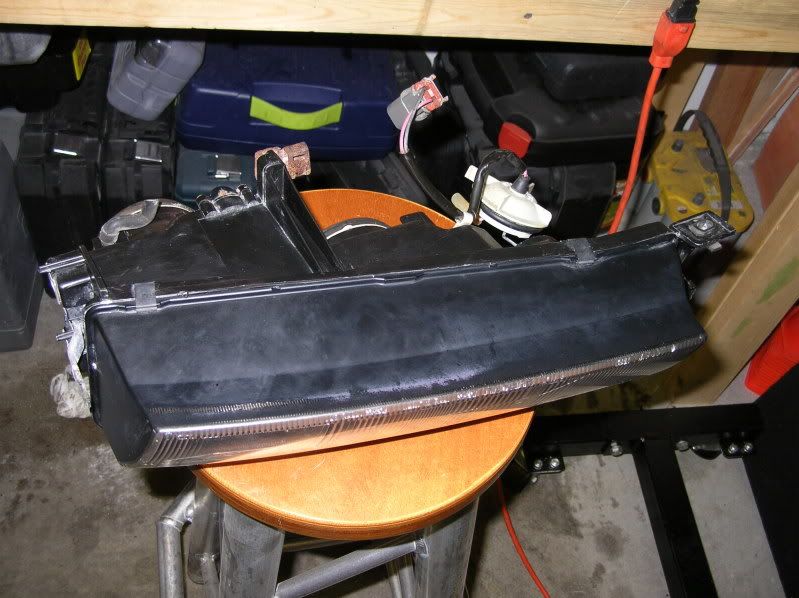
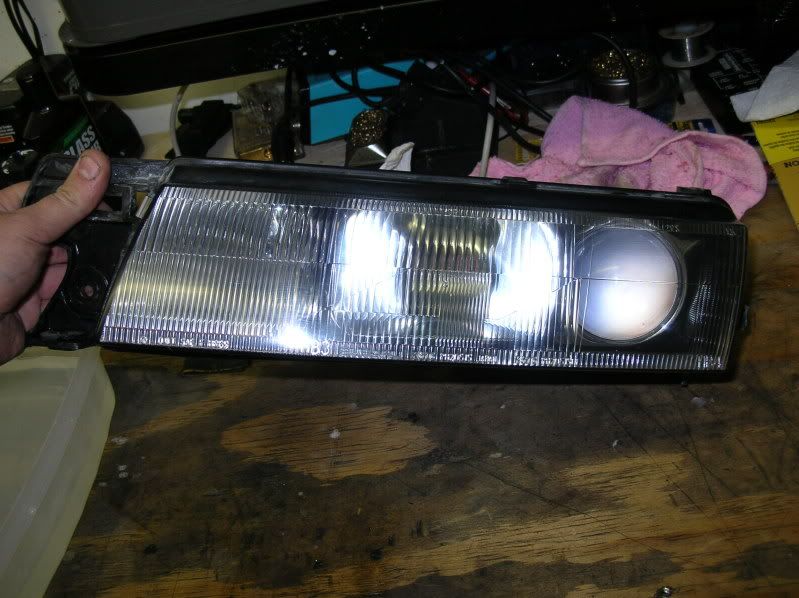
In this picture you can see the clips that hold the light together. One near each side. They're the little metal pieces.
Second: To clean yellowed, foggy, or pitted lenses (This works for the waterfall grill as well)
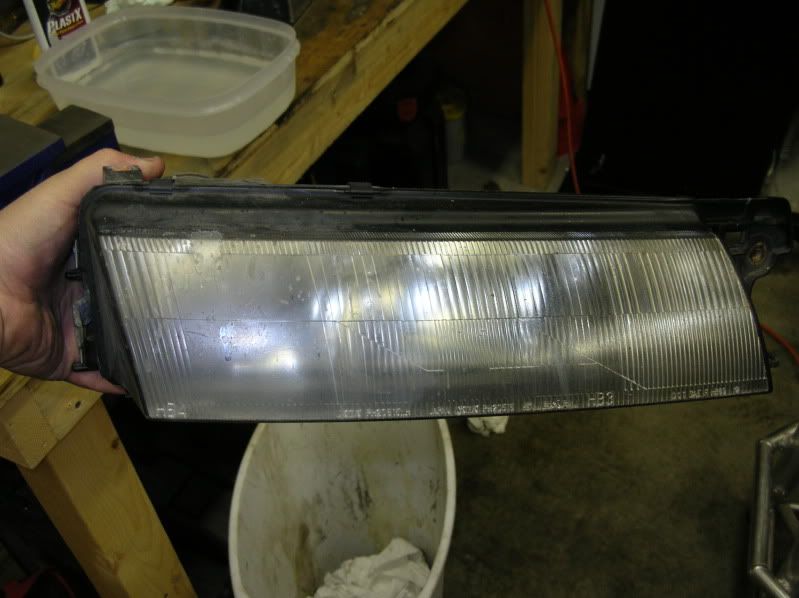
If your headlights look hazy or yellow or pitted like this:
To start you will need a few items.
- 600 Grit Wet/Dry Sandpaper
- 1000 Grit Wed/Dry Sandpaper
- 1500 Grit Wed/Dry Sandpaper
- Plastic Polish (I use Meguiar's PlastX)
- Not required, but very useful is an orbital buffer of some sort with a terry cloth cover
1 - Get some kind of container and fill it up with water.
2 - Start with the 600 Grit sandpaper. Make sure you keep everything wet! Sand down until the water stops turning yellow, or until the surface is how you want it. The lens will be very hazy at this point. I start going one way (side to side), then after I'm done I switch to the other way (top to bottom)
3 - Move on to the 1000 Grit sandpaper. Same procedure as with the 600
4 - Now move on to the 1500 Grit Sandpaper. Clean the lens up as smooth as you can get it.
5 - Clean the lens off. It will be somewhat hazy at this point, but there should be no major scratches, just very very fine scratches that make it look hazy.
6 - Apply some of the plastic polish (PlastX from here out) to a rag and begin polishing the lens.
7 - To make this easier, if you have an orbital buffer, use a terrycloth cover and apply the PlastX.
8 - Keep a generous supply of PlastX on the terrycloth cover/lens and polish as long as you like. I've found it helps to clean the old stuff off once in a while and re-apply
9 - I usually do this for five to ten minutes
10 - Using some kind of glass cleaner and a microfiber cloth (doesn't have to be microfiber, but I prefer them) clean the lens.
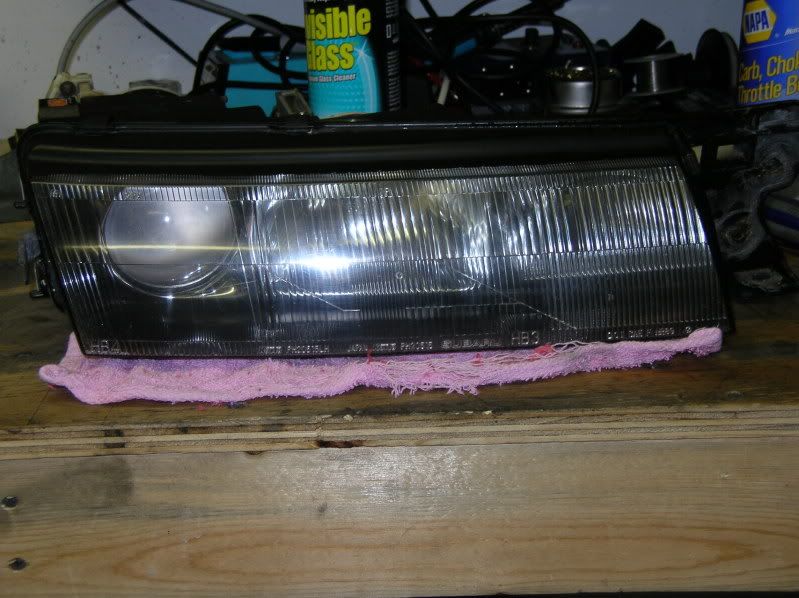
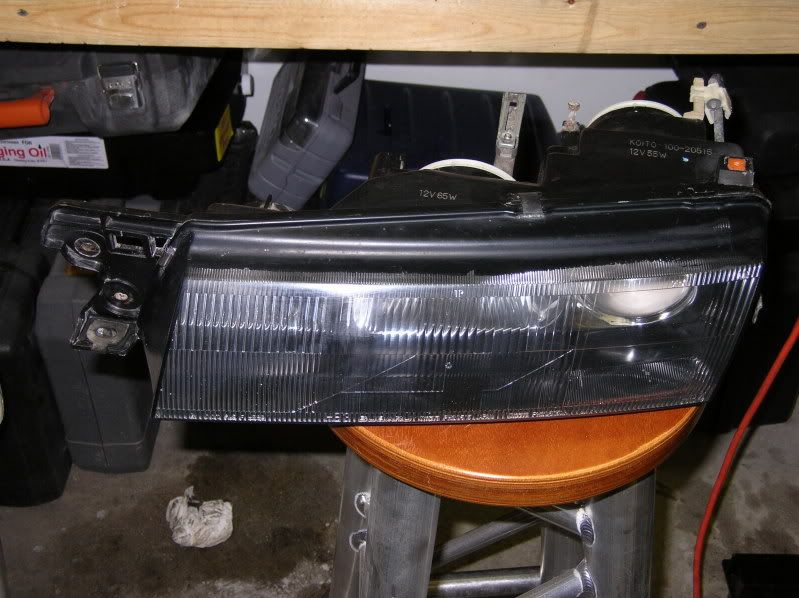
You should be left with a result similar to this: (this is the same light from above)
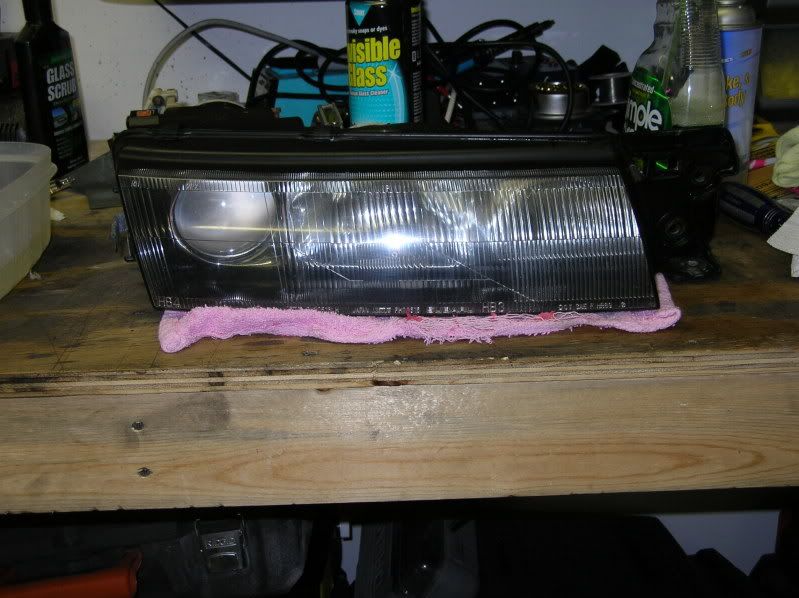
And this is the other side that I forgot to take a before picture of:
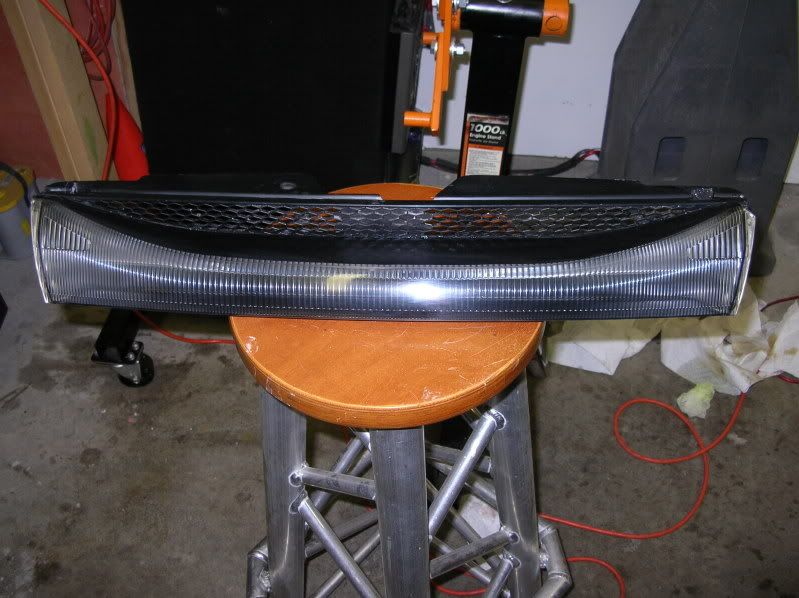
Here is a picture of a grill after the same process. It looked similar to the before picture of the light.
As for the rest of the light, Paper towel, a toothbrush, and Simple Green cleaner were all that I used. Patience and care are all that are needed to clean the rest of the assembly.
Before Cleaning

