I have more pictures from in-process, but here's the result...
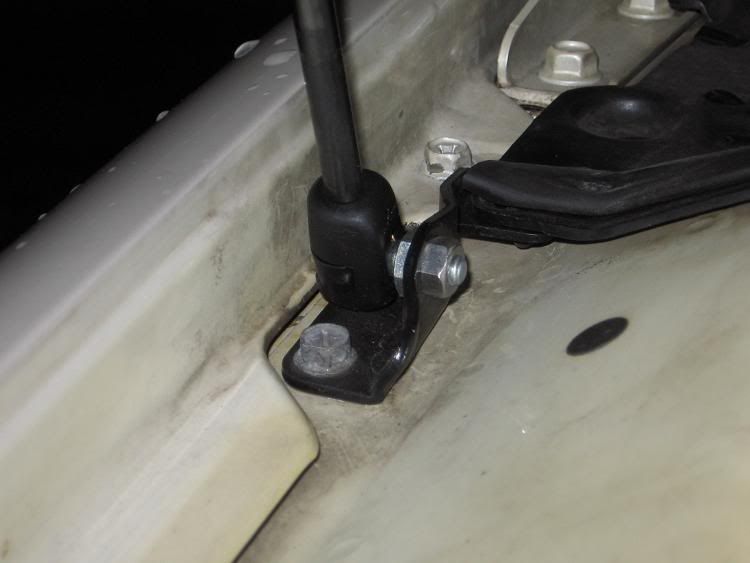
The original writeup suggests removing the ball from the top of the factory strut. I found this to be more trouble
than it's worth; I replaced them with a standard pair of ball studs. No muss, no fuss.
The original writeup and John's technique both involve keeping the hinged bit that was originally attached to the
strut. The way I did it, there are no cut or altered pieces retained, and you can go ahead and paint the whole
thing without working around a pivot if you choose. It also eliminates what I see as a somewhat clumsy
connection, between the bracket and the hinged piece at the end of the strut.
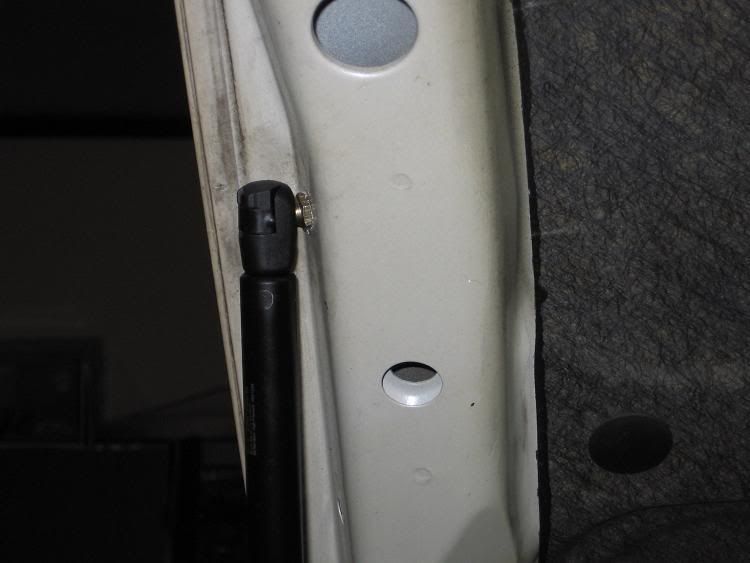
I simply removed all of the strut that wasn't bolted to the fender! The hole was too large for the ball stud that I
had intended to use, so I placed a washer inside it. The overlap from the nut and the ball stud hex covered it
with room to spare to hold them in place. I've got some acorn nuts that I'm going to replace the current ones
with, just for aesthetics.
The crowd cries foul! That's not plug 'n' play! Well, in this method, no. You wind up cutting the one joint out.
The alternate would be to replace the lower brackets with something custom, which wouldn't have any of the
funky bends required by the stock setup. That's probably more than most people would want to go through,
unless they were into the custom bits... anodized this and that, but that's what it would take.
All told, this plan eliminates all bladework, save for one cut which doesn't physically influence anything left on
the car. Wha'cha think?